How to Tell If a Storm Damaged Your Roof (Insurance-Ready Checklist)
After a major storm rolls through NJ, here's exactly how to inspect your roof, document damage, and make a successful insurance claim.
After a big nor’easter or wind event in New Jersey, the question every homeowner asks is the same: “Did my roof get damaged?”
The honest answer is that some storm damage is obvious and some is invisible from the ground. Either way, you need to document it carefully because insurance companies decide claims based on evidence, not on your word.
Here’s the checklist for both inspecting and documenting after a storm.
First: don’t go up on the roof
Wet, debris-covered, post-storm roofs are extremely dangerous. Every year people fall and seriously injure themselves doing exactly this. We do storm inspections for free; let us do the climbing.
Step 1: Check from inside the house
This is the safest place to start.
- Walk through every room and look at the ceiling
- Check the corners where walls meet the ceiling for new water staining
- Look for peeling paint or wallpaper near the top of walls
- Check around any skylights
- Listen for dripping in the attic
- Look for any discoloration or sag
If you find anything, photograph it immediately. Date and time stamps are automatically embedded in phone photos.
Step 2: Check from the attic (if accessible)
With a flashlight:
- Look for new water trails on the rafters
- Check for damp insulation
- Look for daylight where there shouldn’t be any
- Smell for moisture or mildew
- Look at the underside of the roof decking for new staining
Photograph anything you find.
Step 3: Walk the perimeter (outside, ground level)
- Pick up any debris from the yard — shingle pieces, granules, flashing, branches
- Photograph everything you collect, with the house in the background for context
- Look at every roof slope from the ground
- Use binoculars if you have them
- Photograph each elevation of the house
Step 4: Look for these signs of wind damage
- Missing shingles (you’ll see lighter spots where they used to be)
- Lifted shingle edges that look bent up
- Cracked shingles
- Curled corners
- Granule loss patches (bare black spots)
- Damaged or missing ridge cap shingles at the peak
Step 5: Look for these signs of hail damage
Hail damage is sneaky because it often isn’t visible from the ground at all. From the ground, look for:
- Round divots in metal flashing, gutters, or downspouts
- Dings on AC condensers or grills
- Damaged wood siding or fences (a sign of hail size)
- Damaged plants — torn leaves, dented fruit
Even small hail (1 inch) can damage shingles. The damage looks like dark circles or “bruises” on individual shingles, visible only on the roof itself.
Step 6: Check the chimney and vents
- Is the chimney cap still in place?
- Any visible cracks in the crown?
- Are the chimney bricks loose or shifted?
- Is the flashing around the chimney intact?
- Are vent caps still attached?
Step 7: Check the gutters
- Bent or pulled-away gutters?
- Detached downspouts?
- Gutters full of granules (a sign of major shingle wear from impact)?
- Visible damage to gutter guards?
Step 8: Document everything
For an insurance claim, you need:
- Wide shots: Whole-house exterior from each side
- Medium shots: Each elevation showing the affected area
- Close-ups: Specific damage with something for scale (a coin, ruler, or your hand)
- Inside: Any interior damage with timestamps
- Debris: Anything you collected, photographed where you found it
The more documentation, the smoother the claim. Don’t worry about taking too many photos — only about taking too few.
Step 9: Call your insurance company
- Report the storm date (not just “this winter”)
- Describe the damage you’ve observed
- Ask when an adjuster can come out
- Get the claim number in writing
- Ask if you should get an emergency tarp before the adjuster arrives (the answer is usually yes if there’s active leaking)
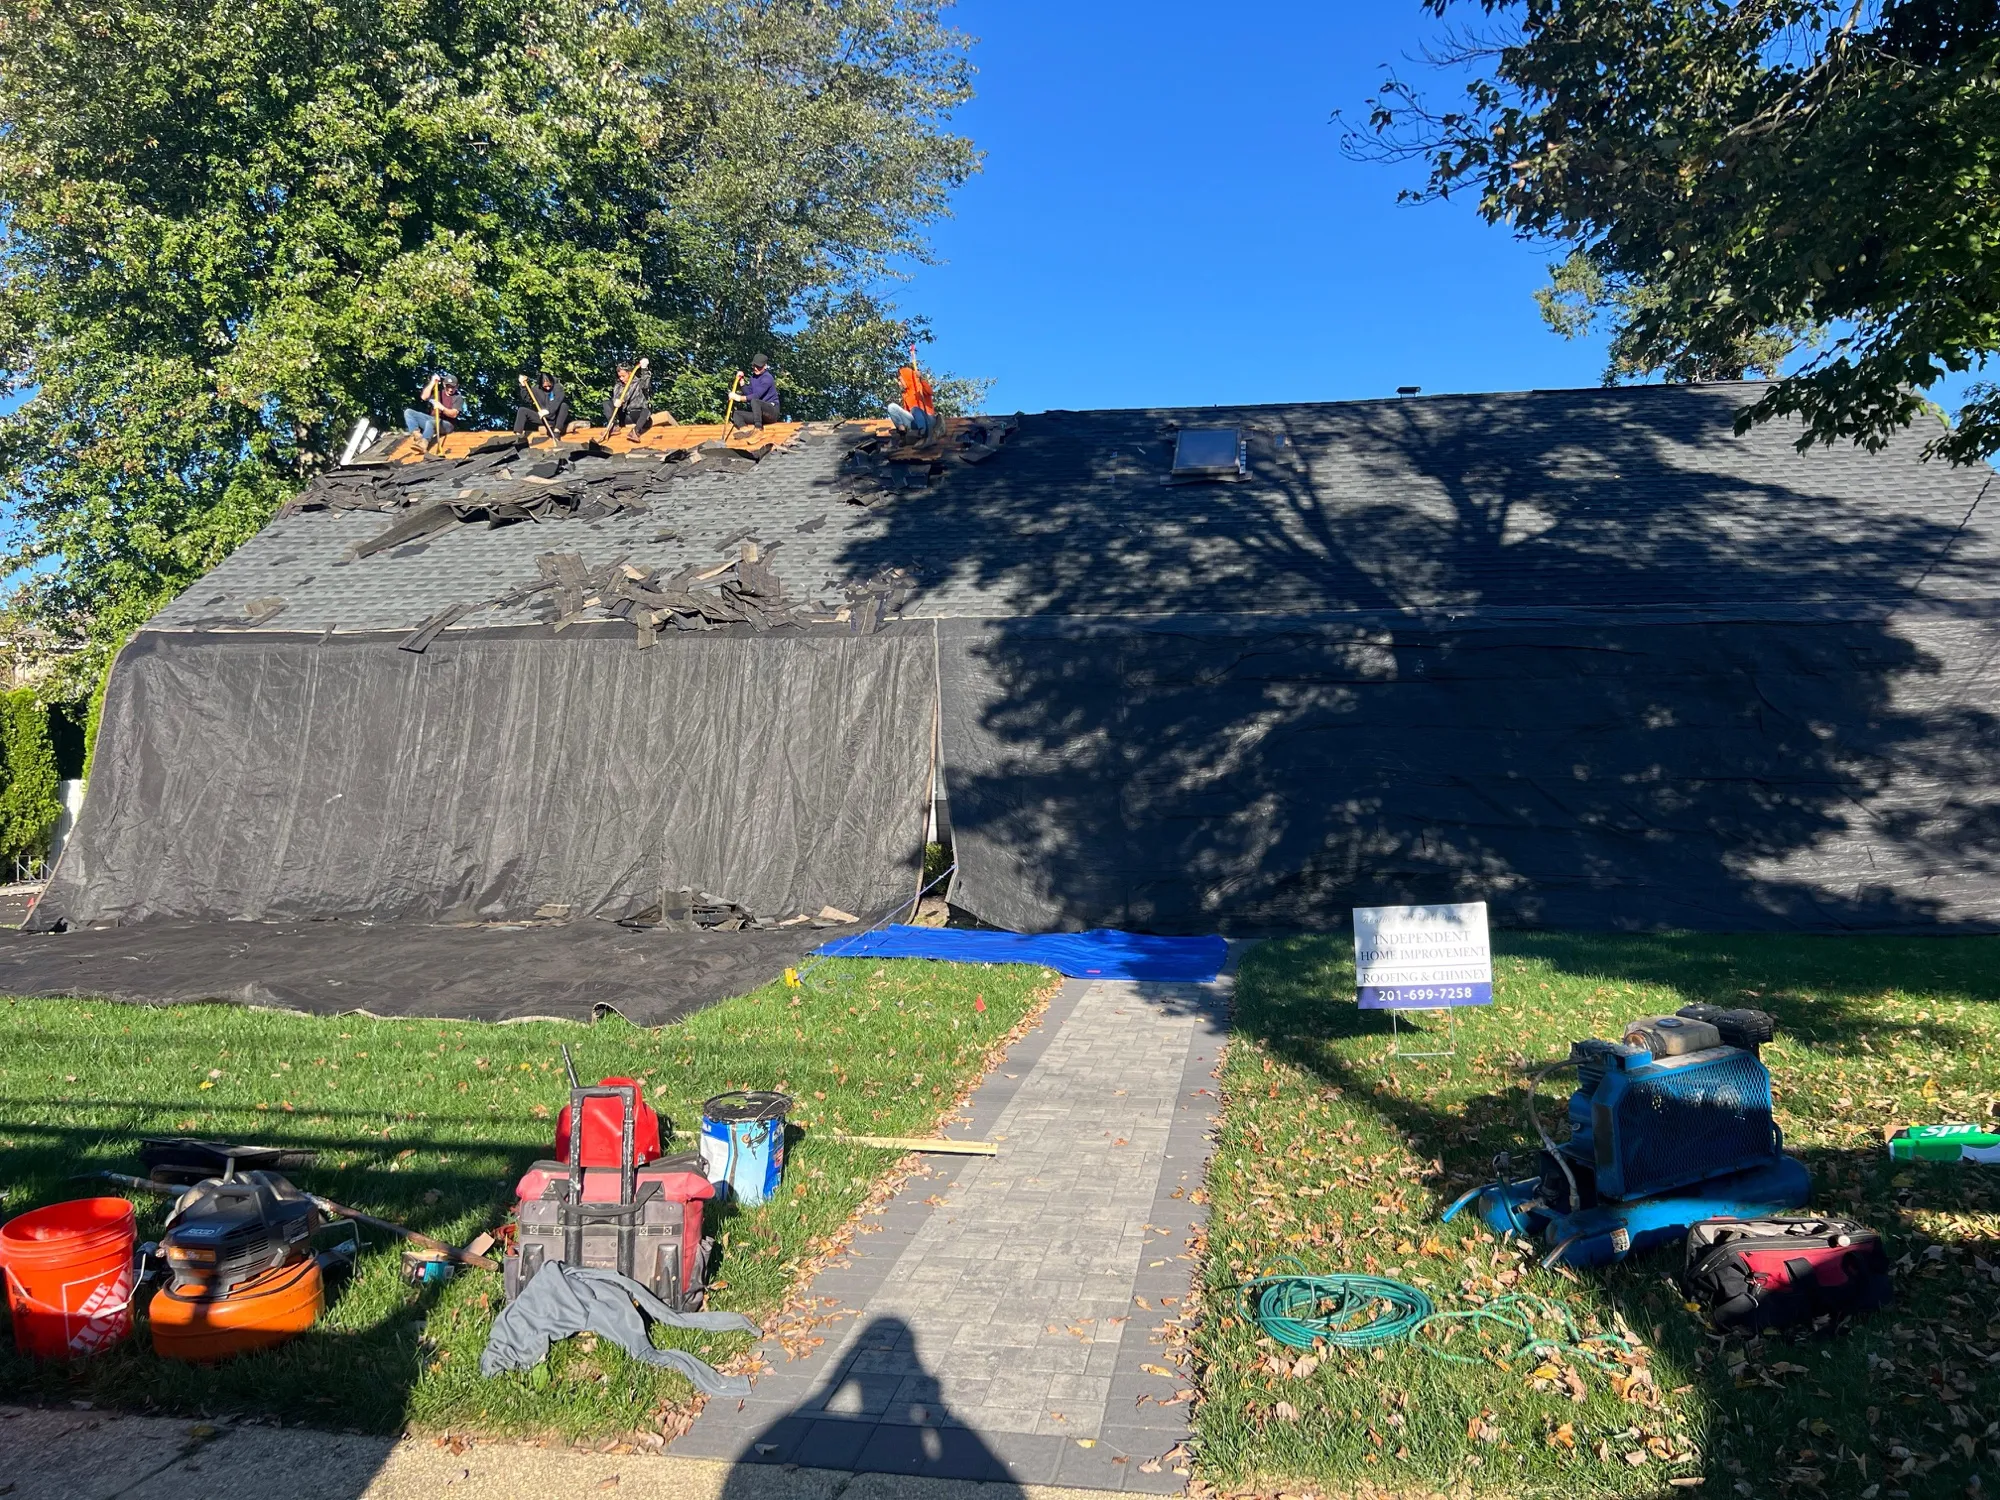
Step 10: Call us for an independent inspection
Insurance adjusters are doing their job, but their job is to assess on behalf of the insurance company. Their job is not to find every possible damage point in your favor.
We do free post-storm inspections and document our findings independently. When you bring this to the adjuster, two things happen:
- They take you more seriously
- They’re less likely to miss real damage
In our experience, claims with independent contractor documentation get approved at higher amounts than claims based on adjuster findings alone.
What insurance covers (and what it doesn’t)
Most NJ homeowner policies cover:
- ✅ Wind damage
- ✅ Hail damage
- ✅ Tree fall damage
- ✅ Lightning strikes
- ✅ Sudden water intrusion from any of the above
Most policies don’t cover:
- ❌ Wear and tear or aging
- ❌ Lack of maintenance
- ❌ Cosmetic-only damage (some policies)
- ❌ Mold from delayed claims
- ❌ Flood damage (need separate flood insurance)
Common reasons claims get denied
- The damage was pre-existing (claim filed too late)
- The roof was at end-of-life before the storm
- No documentation of the storm-specific damage
- The contractor estimate was unrealistic
- “Cosmetic only” exclusion was applied
A good post-storm inspection and proper documentation prevent most of these.
Save this number
If a storm hits and you need fast help with documentation and inspection: (201) 699-7258.