What Is Roof Flashing and Why It Matters More Than You Think
Most roof leaks aren't caused by shingles — they're caused by failed flashing. Here's what flashing is, where it lives, and why bad flashing destroys good roofs.
If you ask a homeowner what the most important part of their roof is, they’ll usually say “the shingles.” That’s wrong. The most important part of a roof is the flashing — and most roof leaks have nothing to do with the shingles at all.
Here’s what flashing is, why it matters, and how to tell if yours is failing.
What flashing actually is
Flashing is the metal (usually aluminum, copper, or galvanized steel) that seals the joints and transitions in your roof. Anywhere the roof meets something else — a chimney, a wall, a vent pipe, a skylight, a valley between two roof slopes — there’s flashing.
The shingles cover the flat parts. The flashing handles the complicated parts. And the complicated parts are where 90% of leaks happen.
Where flashing lives on your roof
1. Chimney flashing
The most failure-prone flashing on the entire roof. It includes step flashing (small pieces tucked under each shingle course on the sides), counter-flashing (embedded in the brick mortar above the step flashing), apron flashing (in front of the chimney where it faces the upslope), and saddle/cricket flashing (behind the chimney to divert water).
When chimney flashing fails, leaks appear inside the house near the chimney — but homeowners often blame “the roof.”
2. Wall flashing
Where the roof meets a wall (like on a dormer, addition, or two-story house with a one-story bump-out), step flashing prevents water from running behind the wall.
3. Valley flashing
Where two roof slopes meet at an angle. Valleys carry enormous volumes of water during heavy rain, so they need extra protection. Modern installation usually includes ice & water shield underneath plus open metal valley flashing on top.
4. Vent pipe flashing
Plumbing vents poke through the roof and need a special boot — a rubber gasket fitted to a metal flange — to seal around the pipe. These boots are notorious for failing after 8–12 years because the rubber dries out.
5. Skylight flashing
Skylights have multiple flashing components: head flashing above, sill flashing below, and step flashing on the sides. A skylight installed without all of these is guaranteed to leak.
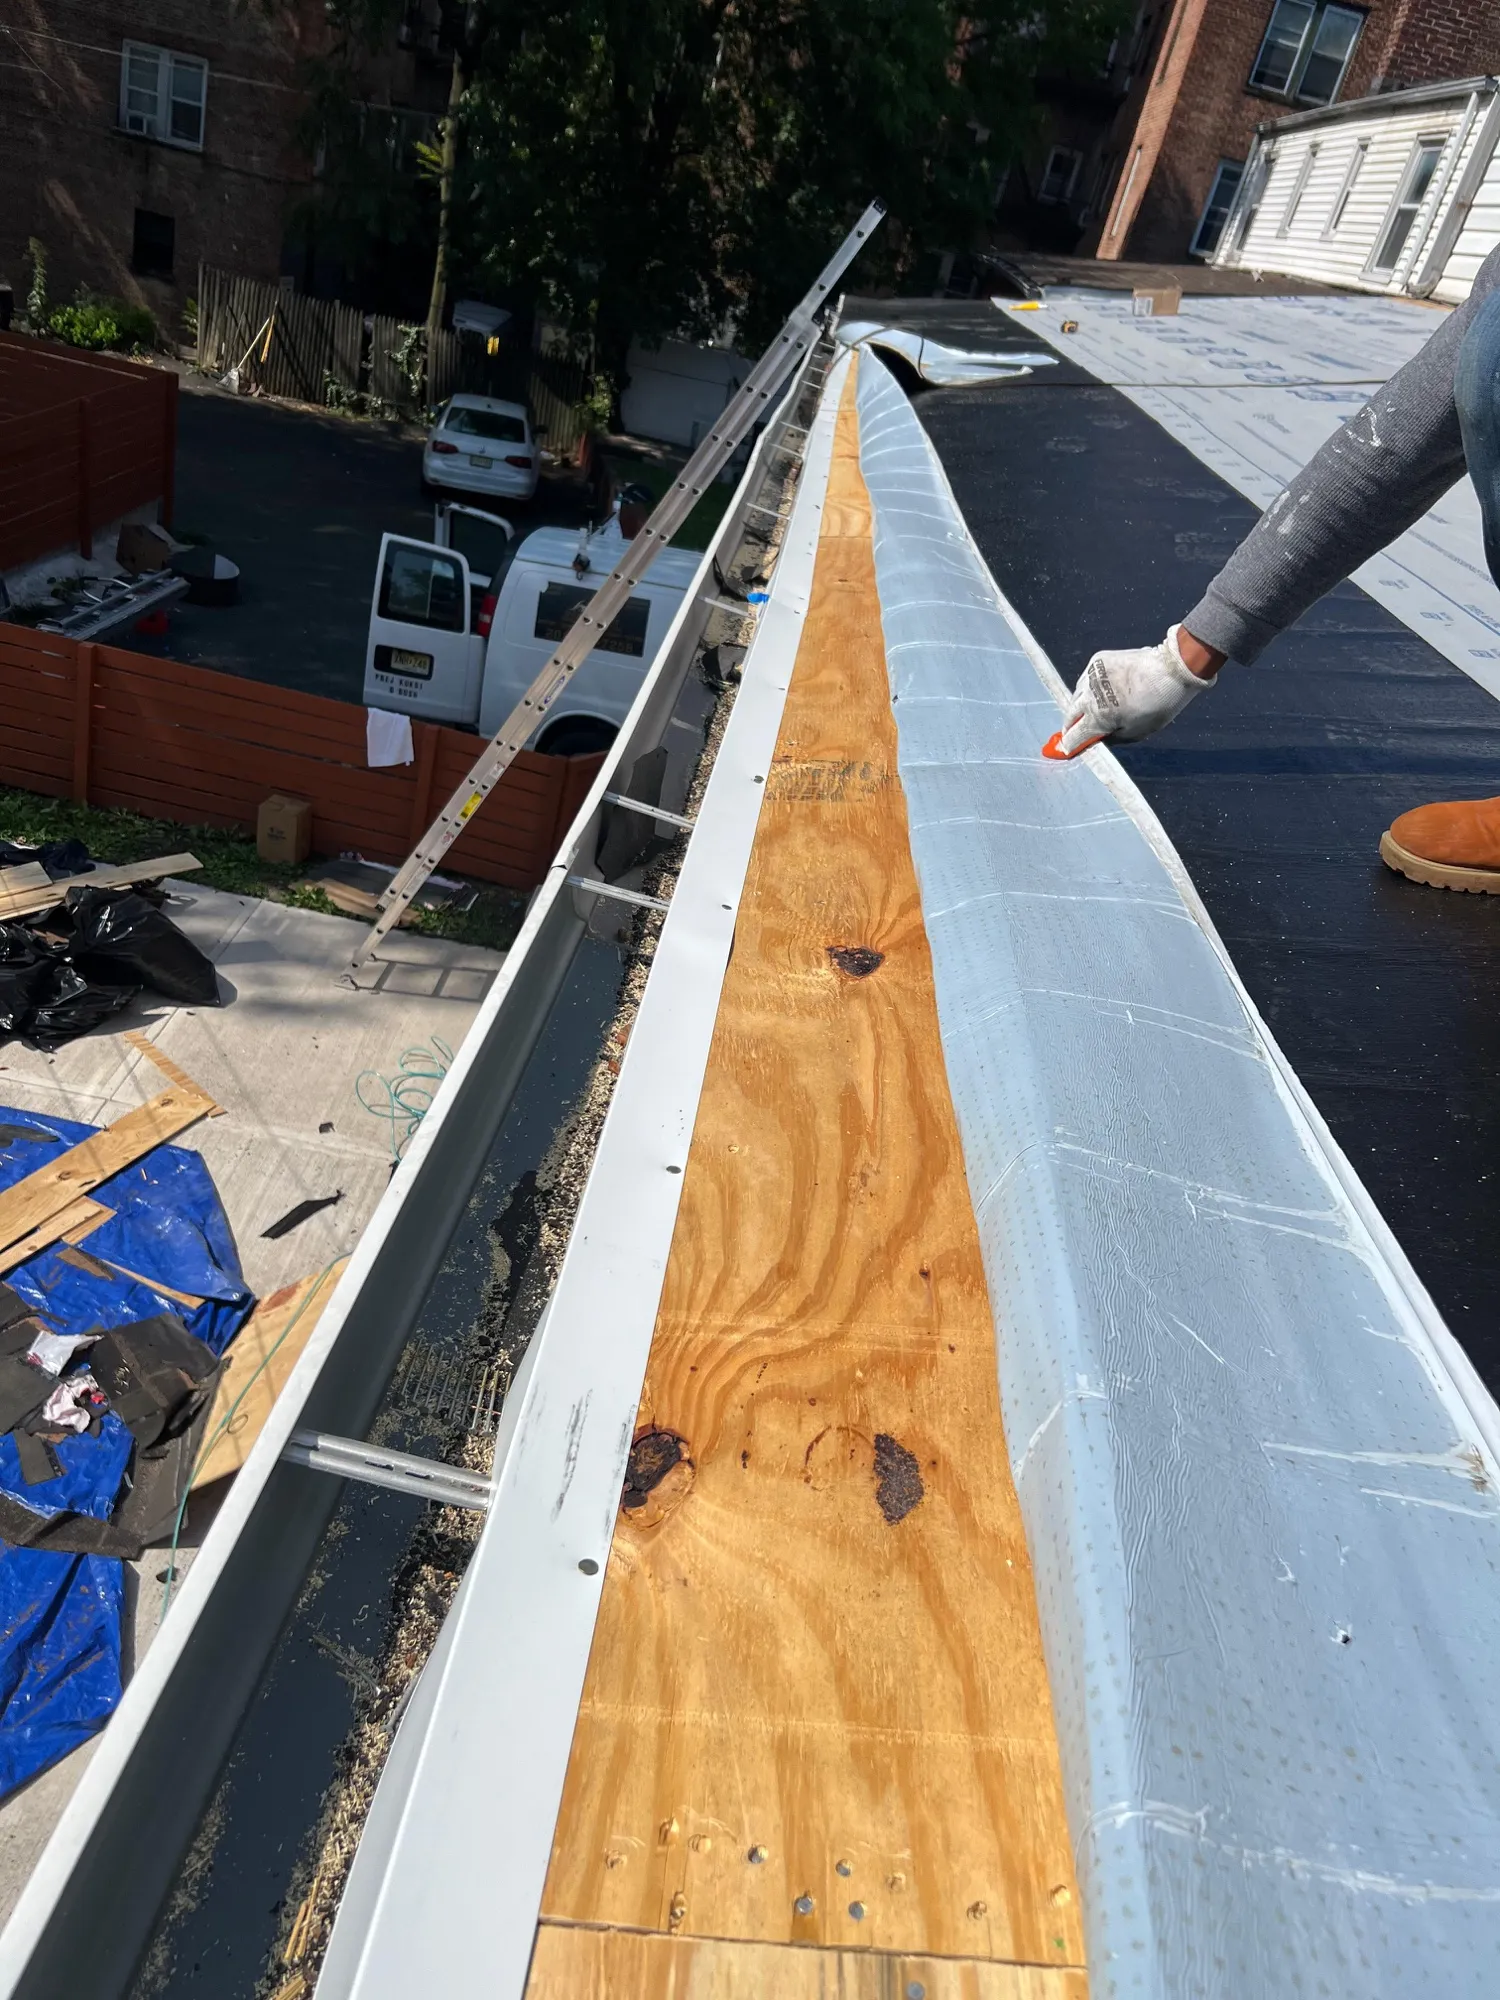
6. Drip edge
Metal flashing along the eaves and rake edges that directs water into the gutters and prevents wind-driven rain from getting under the shingles.
7. Counter-flashing
Where a wall (especially a brick wall) meets the roof, counter-flashing is embedded into the mortar joint above the step flashing. This is the part that needs to be replaced when bricks are repointed.
How flashing fails
Bad installation from the start
This is the #1 cause. Common errors:
- Sealing flashing only with caulk instead of properly tucking it under shingles and into masonry
- Reusing old flashing during a re-roof instead of replacing it
- Skipping counter-flashing on chimneys
- Missing kick-out flashing where roof meets wall (causes hidden leaks behind siding)
- Using the wrong type of flashing for the location
Aging
Even well-installed flashing eventually fails:
- Caulk dries out and cracks (5–10 years)
- Pipe boots harden and split (8–15 years)
- Galvanized steel rusts through (20–30 years)
- Aluminum corrodes from chemicals (varies)
- Copper develops pinholes after many decades
Movement
Houses settle. Chimneys lean. Trees fall. Ice expands. Any movement breaks flashing seals.
Signs of failing flashing
You usually can’t see flashing problems from the ground until they’re severe. The first signs are usually inside:
- Water stains on ceilings near chimneys, walls, or skylights
- Peeling paint near the top of interior walls
- Damp spots in the attic that don’t correspond to obvious roof damage
- Recurring leaks in the same spot after repairs to the shingles
- Discoloration on siding below where the roof meets a wall
If you see any of these, the problem is almost certainly flashing — not the shingles. Patching the shingles won’t help.
Why most “leak repairs” don’t work
We get calls all the time from homeowners who say: “Three different roofers have tried to fix this leak and it keeps coming back.”
The reason is almost always that the previous roofers:
- Slathered caulk over the flashing instead of fixing it properly
- Replaced shingles without addressing the underlying flashing
- Misdiagnosed the leak source because water travels along framing before showing up
A real flashing repair often means:
- Removing the surrounding shingles
- Removing the old flashing entirely
- Inspecting the decking underneath
- Installing new flashing properly tucked into the right layers
- Reinstalling new shingles around it
- Sealing only as a final detail, not as the primary waterproofing
It takes longer. It costs more than caulk. And it actually solves the problem.
What to ask your roofer about flashing
If you’re getting a roof replacement quote, ask:
- “Will you replace all the flashing or reuse the old?”
- “What kind of flashing do you use around the chimney?”
- “Do you install kick-out flashing where the roof meets walls?”
- “Are you installing ice & water shield in the valleys?”
- “What’s the warranty on the flashing work?”
A pro will answer these confidently and specifically. A shortcut artist will fumble.
The bottom line
Flashing is the unglamorous, invisible part of your roof. It’s also the part that determines whether the roof actually keeps water out. Get the flashing right and the rest takes care of itself.